Between elaborate makeup tutorials, product recommendations, and overwhelming makeup tricks and tips, mastering your go-to makeup can be a challenge. Try out some of these simple makeup hacks for stress-free, put-together makeup that doesn’t break the bank.
For a lot of ladies we “learn” to do our makeup at a young age.
Having said that, if you’re anything like me that doesn’t mean you grew up doing it particularly well. In fact, I probably only started to get the hang of doing my makeup within the last 3 years or so (I’m 28…lol).
Even though I’m still always experimenting and trying out new techniques with my makeup, over the years, I’ve come up with a few standard makeup hacks that I’ve found make all the difference in how put together my makeup looks.
If you want to transform the look of your makeup with a few simple makeup hacks, I’ve got your back.
First off, hear me out and go for the natural look
You’re not going to find any elaborate makeup tips here.
I’m a much bigger fan of simple makeup that keeps things looking natural and fresh.
Largely this is just because it’s what suits my lifestyle best (I have no reason to wear elaborate makeup on a daily basis), but it’s also because it’s the easiest makeup to pull off!
All you have to do is add in a couple simple makeup hacks and they make all the difference.
So first and foremost, if you want put-together makeup, keep things simple, especially if you’re not used to doing elaborate looks, or you’re not sure how to do specific techniques.
With simple makeup that’s applied in the right way, you’ll always look fresh and radiant.
Makeup Hacks for Foundation
Let’s start with the base since that tends to be the place that can make or break your makeup.
1) Don’t skip skincare
Anybody who knows me and my obsession with skincare won’t be surprised by this tip.
But seriously, if you want makeup that looks great, DON’T skip out on taking care of your skin.
It’s like trying to ice a cake without actually making the cake first. If your skin is dull and lifeless, your makeup just won’t look as good. Plain and simple.
If you’re short on time, though, and you aren’t looking for a complex skincare routine, I would suggest, at the very least, make sure you’re always cleaning your face (micellar water is my favorite for a simple cleanse) and moisturizing.
Cleansing will help remove any impurities and oils, while moisturizing will ensure your skin is soft and smooth. There’s nothing worse than putting makeup over top of dry skin, so also check out some of these tips on hydrating your skin in the winter months (or really any time of year!).
In addition, you’ll find all my favorite skincare products for a full skincare routine in this post.
I can’t stress it enough: THE BIGGEST MAKEUP HACK IS TO PUT TIME INTO YOUR SKINCARE (sorry for yelling, I’m just really passionate about skincare).
2) Try a CC Cream instead of a foundation
Okay, you’ve got your skincare all done?
Excellent.
Let’s move onto your base.
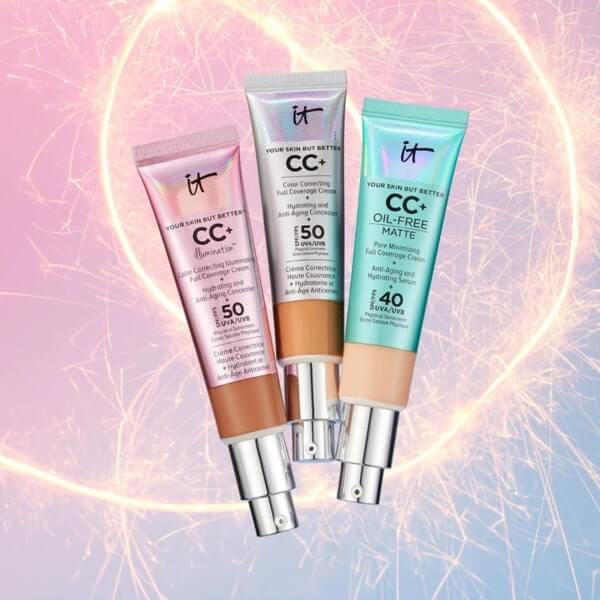
My biggest makeup hack here, and what I think makes my makeup look so fresh and natural, is to use a CC Cream instead of a foundation.
While there are certainly some great foundations out there, for me, foundation is just too heavy of a product for everyday wear. In my experience, a CC cream is much lighter, goes on easier (I just use my fingers), blends more seamlessly, and has skincare components that help contribute to a more radiant and glowing complexion (i.e. hyaluronic acid, Vitamin C, antioxidants, etc.).
If you’re interested in trying a CC Cream to see what a difference it can make in the look and health of your skin, I’m in love with the It Cosmetics Your Skin But Better CC Cream.
I started using it about 2 years ago, and I’ve never gone back. In fact, I once tried purchasing another product, and it just couldn’t hold up to my CC Cream.
If you want to learn more about the It Cosmetics Your Skin But Better CC Cream, I have a full review on it, detailing everything from its benefits, to swatches, and product specifications.
2) Start with small amounts of product and apply as needed
Regardless of whether you’re applying a regular foundation or a CC Cream, one thing remains true: always start with a small amount and apply as needed.
Less is always more when it comes to makeup application.
Because, trust me, it’s a lot more annoying to remove makeup if you’ve applied too much than it is to simply add as you go.
In particular, with foundation/cc cream, apply small dots around your face on the areas that need it (i.e. redness, pimples, scars, etc.), blend out from there, and only add more if necessary.
This saves you product and keeps your makeup more fresh and natural.
3) Use a wet beauty blender for application
As mentioned, when it comes to my CC Cream, I simply use my fingers for application (the product is that good that I really don’t need to use anything else).
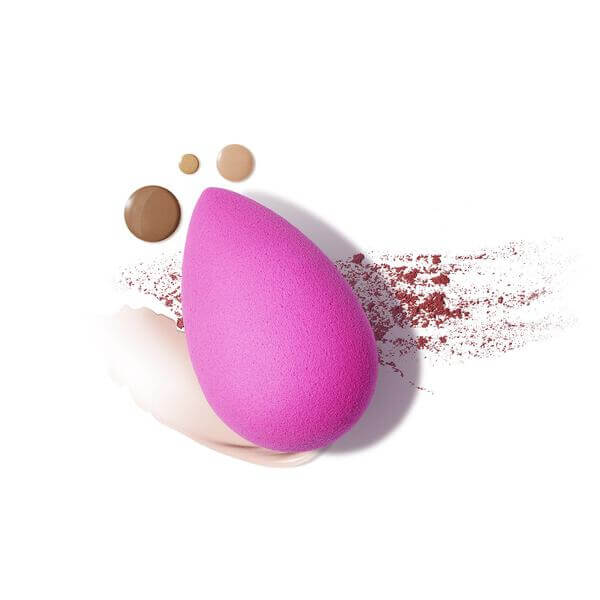
Having said that, when I was using a regular foundation, the thing that I found made the biggest difference with making my foundation look its best was the combination of a beauty blender and water.
Not only does the wet beauty blender help pick up any excess product you’ve accidentally put on, it also pushes the product into the skin more seamlessly, while ensuring the foundation doesn’t settle into any dry patches.
Simply put your beauty blender under a running faucet, let it expand, and squeeze all the excess water out so that you’re left with a DAMP beauty blender (you don’t want it to be soaking wet).
You can then simply apply the product directly onto your face and dab the beauty blender into your skin to blend. Easy peasy.
Makeup Hacks For Eyes
Again, I’m all about that natural makeup look, so really, beyond mascara, I don’t do too much with my eyes.
Having said that, though, there are a couple simple eye makeup hacks that can really make an impact. Let’s discuss.
1) Put concealer on your eyelids
This is probably the biggest eye makeup hack that I have, and it’s one that I swear by.
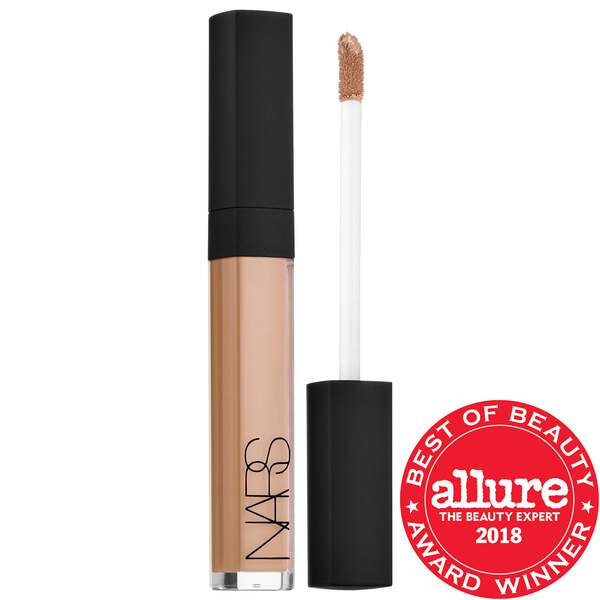
When applying concealer under your eyes, also apply the concealer onto your eyelids, especially if you’re like me and you tend to get a lot of darkness around your eyes.
Not only does applying the concealer helps brighten everything up, while naturally making you look more awake, it also acts as an eyeshadow base if you do choose to wear eyeshadow.
For my favorite concealer, check out this NARS Radiant Creamy Concealer review (once again, this is one of my go-to makeup products that I use everyday).
And, if you’re looking for some tips on how to apply concealer under your eyes, I have a full tutorial here
(Note: I didn’t want to include this as a makeup hack because I think it’s fairly obvious, but very rarely will I ever skip out on concealer under my eyes. Even if it’s just the tiniest amount, concealer under my eyes is probably the most essential component of my whole makeup look).
2) Try bronzer on your lids
What’s the easiest way to get some color onto your lids without having to whip out an eyeshadow palette and multiple brushes?
Simply brush your favorite bronzer onto your lids. You can even simply use the same brush you use when doing your bronzer. You don’t have to be precise with this.
Not only is this ridiculously easy to do, it also creates a nice effect if you use the same bronzer on both your face and your eyelids. It creates that cohesive, sunny glow that we all strive for with just a quick swipe.
3) Use a fluffy blending brush
Want some color on your lids, but don’t want to spend time following a complex makeup tutorial.
Easy!
Get yourself a fluffy, blending brush. I got one in an Ipsy bag years ago, and it totally changed how I do my eye makeup.
Simply pick one eyeshadow shade you really like, and then apply it all over with the blending brush. It blends the eyeshadow out perfectly, and you can easily get color into the crease of your lid.
p.s. this is my favorite eyeshadow palette if you’re into browns and purples and don’t mind a bit of sparkle.
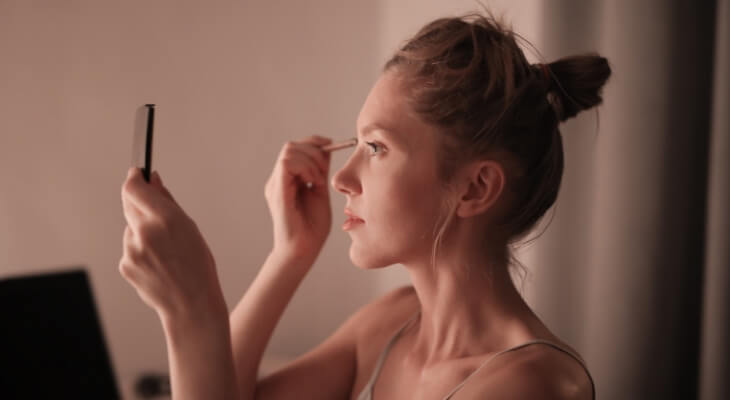
4) Try filling in your brows (but only slightly)
If you’re scared of filling in your brows, hear me out here.
For a long time, I thought filling in your brows would give you that weird, overdone look (not into it), but really, if you have the right product and you just fill in ever so slightly, it makes a huge difference in highlighting your eyes and making your makeup feel more complete.
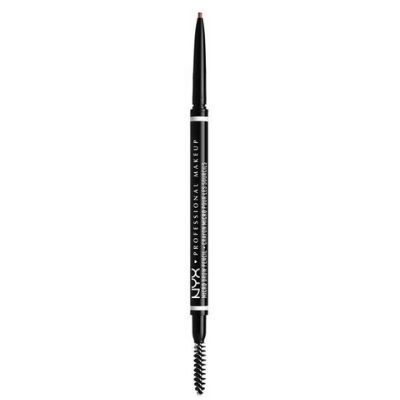
Specifically I would highly recommend the NYX Microbrow Pencil. I’ve used this for years, and I’ve never even tried another product, because honestly, I just don’t feel like I need to. It’s that good.
At least give it a try, only adding just a tiny amount onto areas of your brows that need a little extra filling, and trust me, you’ll fall in love with this step in your makeup routine.
Makeup Hacks for Blush/Bronzer/Highlighter
1) Try cream based products for a flawless look
Cream based makeup products use to scare me, but once I started using a cream blush, I fell in love.
Of course I don’t always go for the cream based products, but when I do, the product settles flawlessly into my face makeup and it just looks more natural.
Not to mention, on hot summer days or when I’m on a sunny vacation, I just find cream products to be more practical. You don’t get that powdery look when you’re in the harsh sunlight, and if you start sweating, it’s a lot easier to maintain the look of a cream based product than a powdery one.
If you’re looking for makeup for the beach, I would highly recommend trying a cream based blush/bronzer/highlighter.
2) Apply highlighter down the bridge of your nose and on the tip
This is something that I do probably everyday that I wear makeup, and I swear by it.
If you’re not a fan of your nose and don’t want to draw attention to it, this might not be the makeup hack for you, but I would at least give it a try.
It gives you a glowly look without having to add a blinding highlight on your cheeks. It’s also subtle and it just makes everything pop more.
Simply add a tiny amount right onto the tip of your nose, or bring it all the way down the bridge of your nose if you really want to bring the glow.
I don’t have one highlighter that I’m consistently using right now but for the best highlight I’ve ever used with the best price tag, I’ll always recommend the Essence Pure Nude Highlighter. It cost $5 and it works just as well as many of the higher end highlighters I’ve used. You can read my full review here.
Either way, whatever highlighter you choose to go with, this is a makeup hack that I highly recommend.
Makeup Hacks for Lips
1) Try this lip sleeping mask
Not going to lie, I’ve never been much for lipstick or gloss.
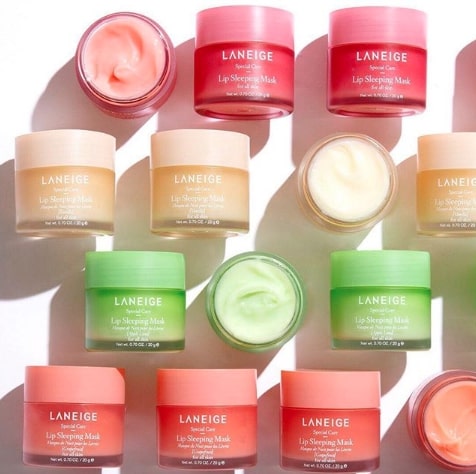
Having said that, when I do want to add a bit of color to my lips, the Laneige Lip Sleeping Mask is a must.
It’s a thick lip product that you can apply at night while you sleep, and when you wake up, you have the softest, smoothest lips.
I’ll sometimes even use it during the day when my lips are particularly chapped, which is great for the winter when my lips are prone to dryness.
In general, though, as a lip sleeping mask it works wonders for ensuring your lips are primed and ready for any gloss or lipstick, especially matte product that tends to dry your lips out.
This product is a must in my beauty routine. If interested, I go into depth about why I love the lip sleeping mask here.
The Biggest Makeup Hack of All
Really, at the end of the day, when it comes to “hacking” makeup, it’s just about having the right products.
If you’re using poor products that don’t work well, it doesn’t matter how many hacks and techniques you have available to you, your makeup will suffer.
All of the products I’ve recommended in this article are products I currently use, love, and highly recommend!
If you’re looking for cheaper alternatives, you can always check out this list of the top rated drugstore makeup.
Either way, no matter what products you go with, always do your research, pick quality over quantity, and don’t be afraid to keep your makeup simple.
Cause yup, sometimes simple it just better.
If you love simple makeup hacks, feel free to share your makeup tips and tricks with me in the comments below. I love knowing how other ladies get their natural makeup looks!
If you enjoyed these makeup hacks and would like to save it for later, feel free to use this image for Pinterest:


Leave a Reply